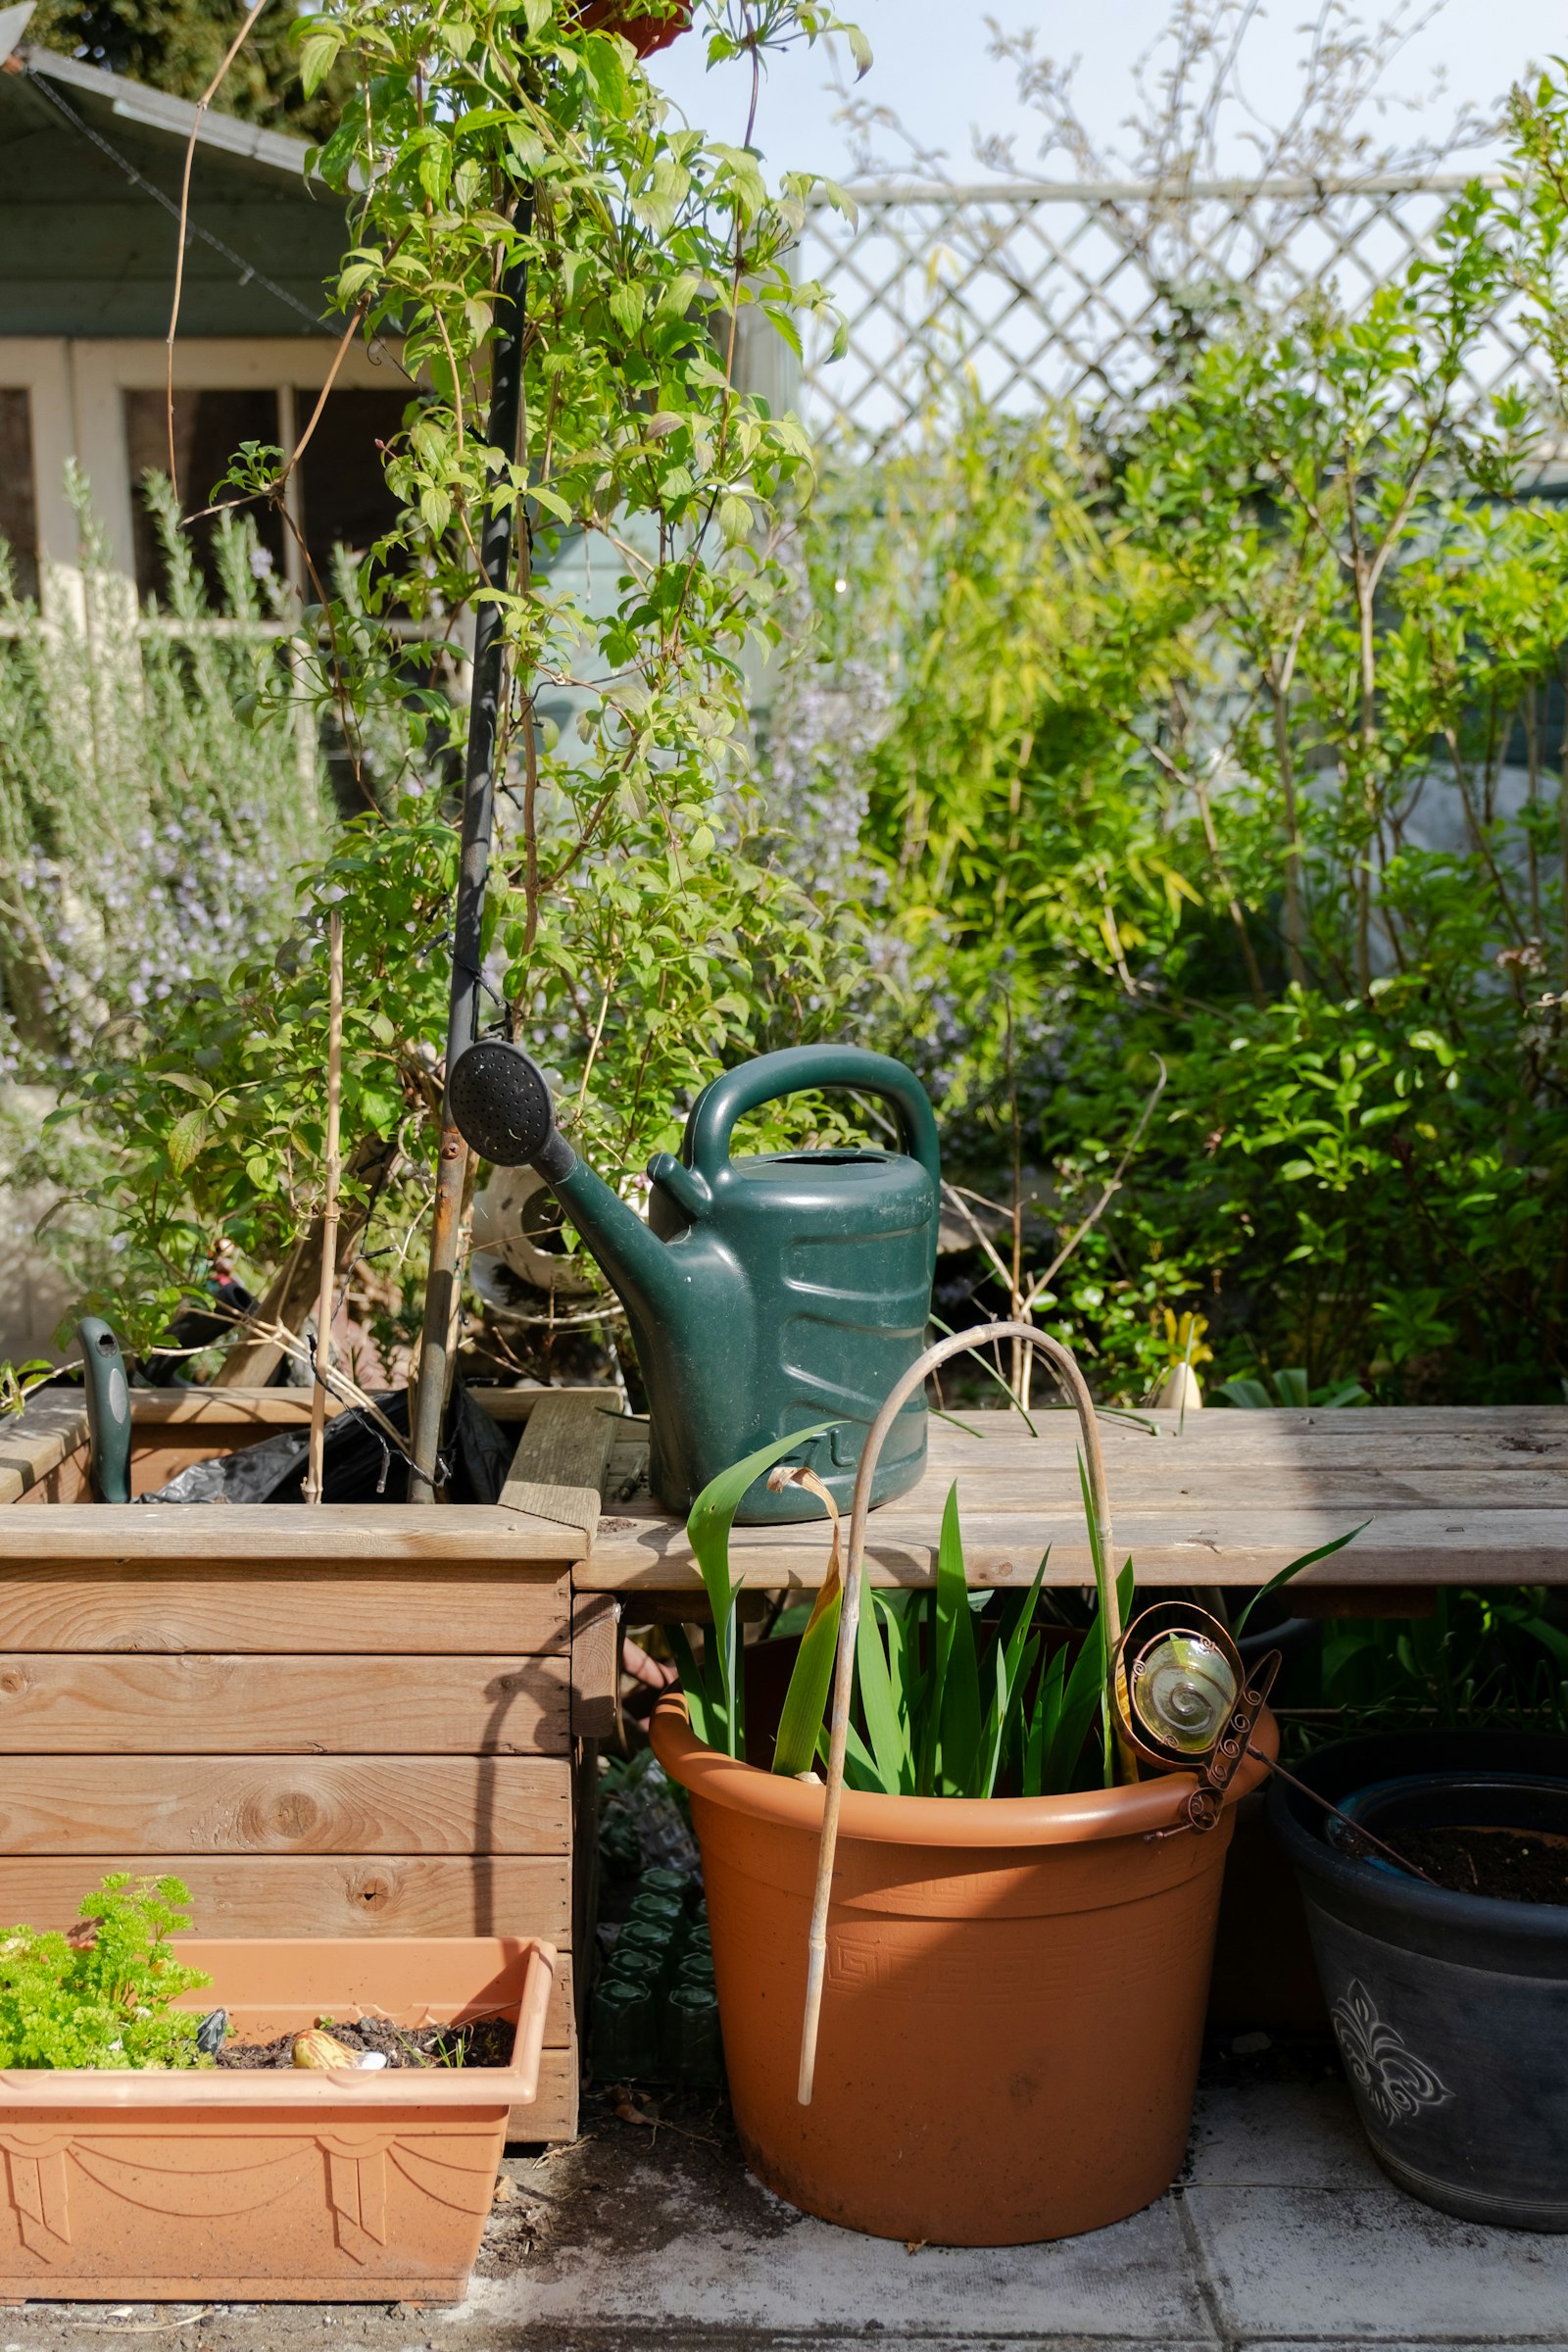
Photo: Matthew Halmshaw / Unsplash.
A container garden can start with one useful plant and a place you can reach with a watering can. The difficult part is rarely finding an attractive pot. It is choosing a combination of light, plant, container, and routine that works together after the first enthusiastic weekend.
This guide walks through those decisions in order. It is written for beginners in the United States, but it does not assume that every reader shares the same climate. A spring planting date in Minnesota and one in southern Florida can be very different. Use the planning steps here alongside local Cooperative Extension advice and the instructions for your particular plants.
Start with the space you actually have
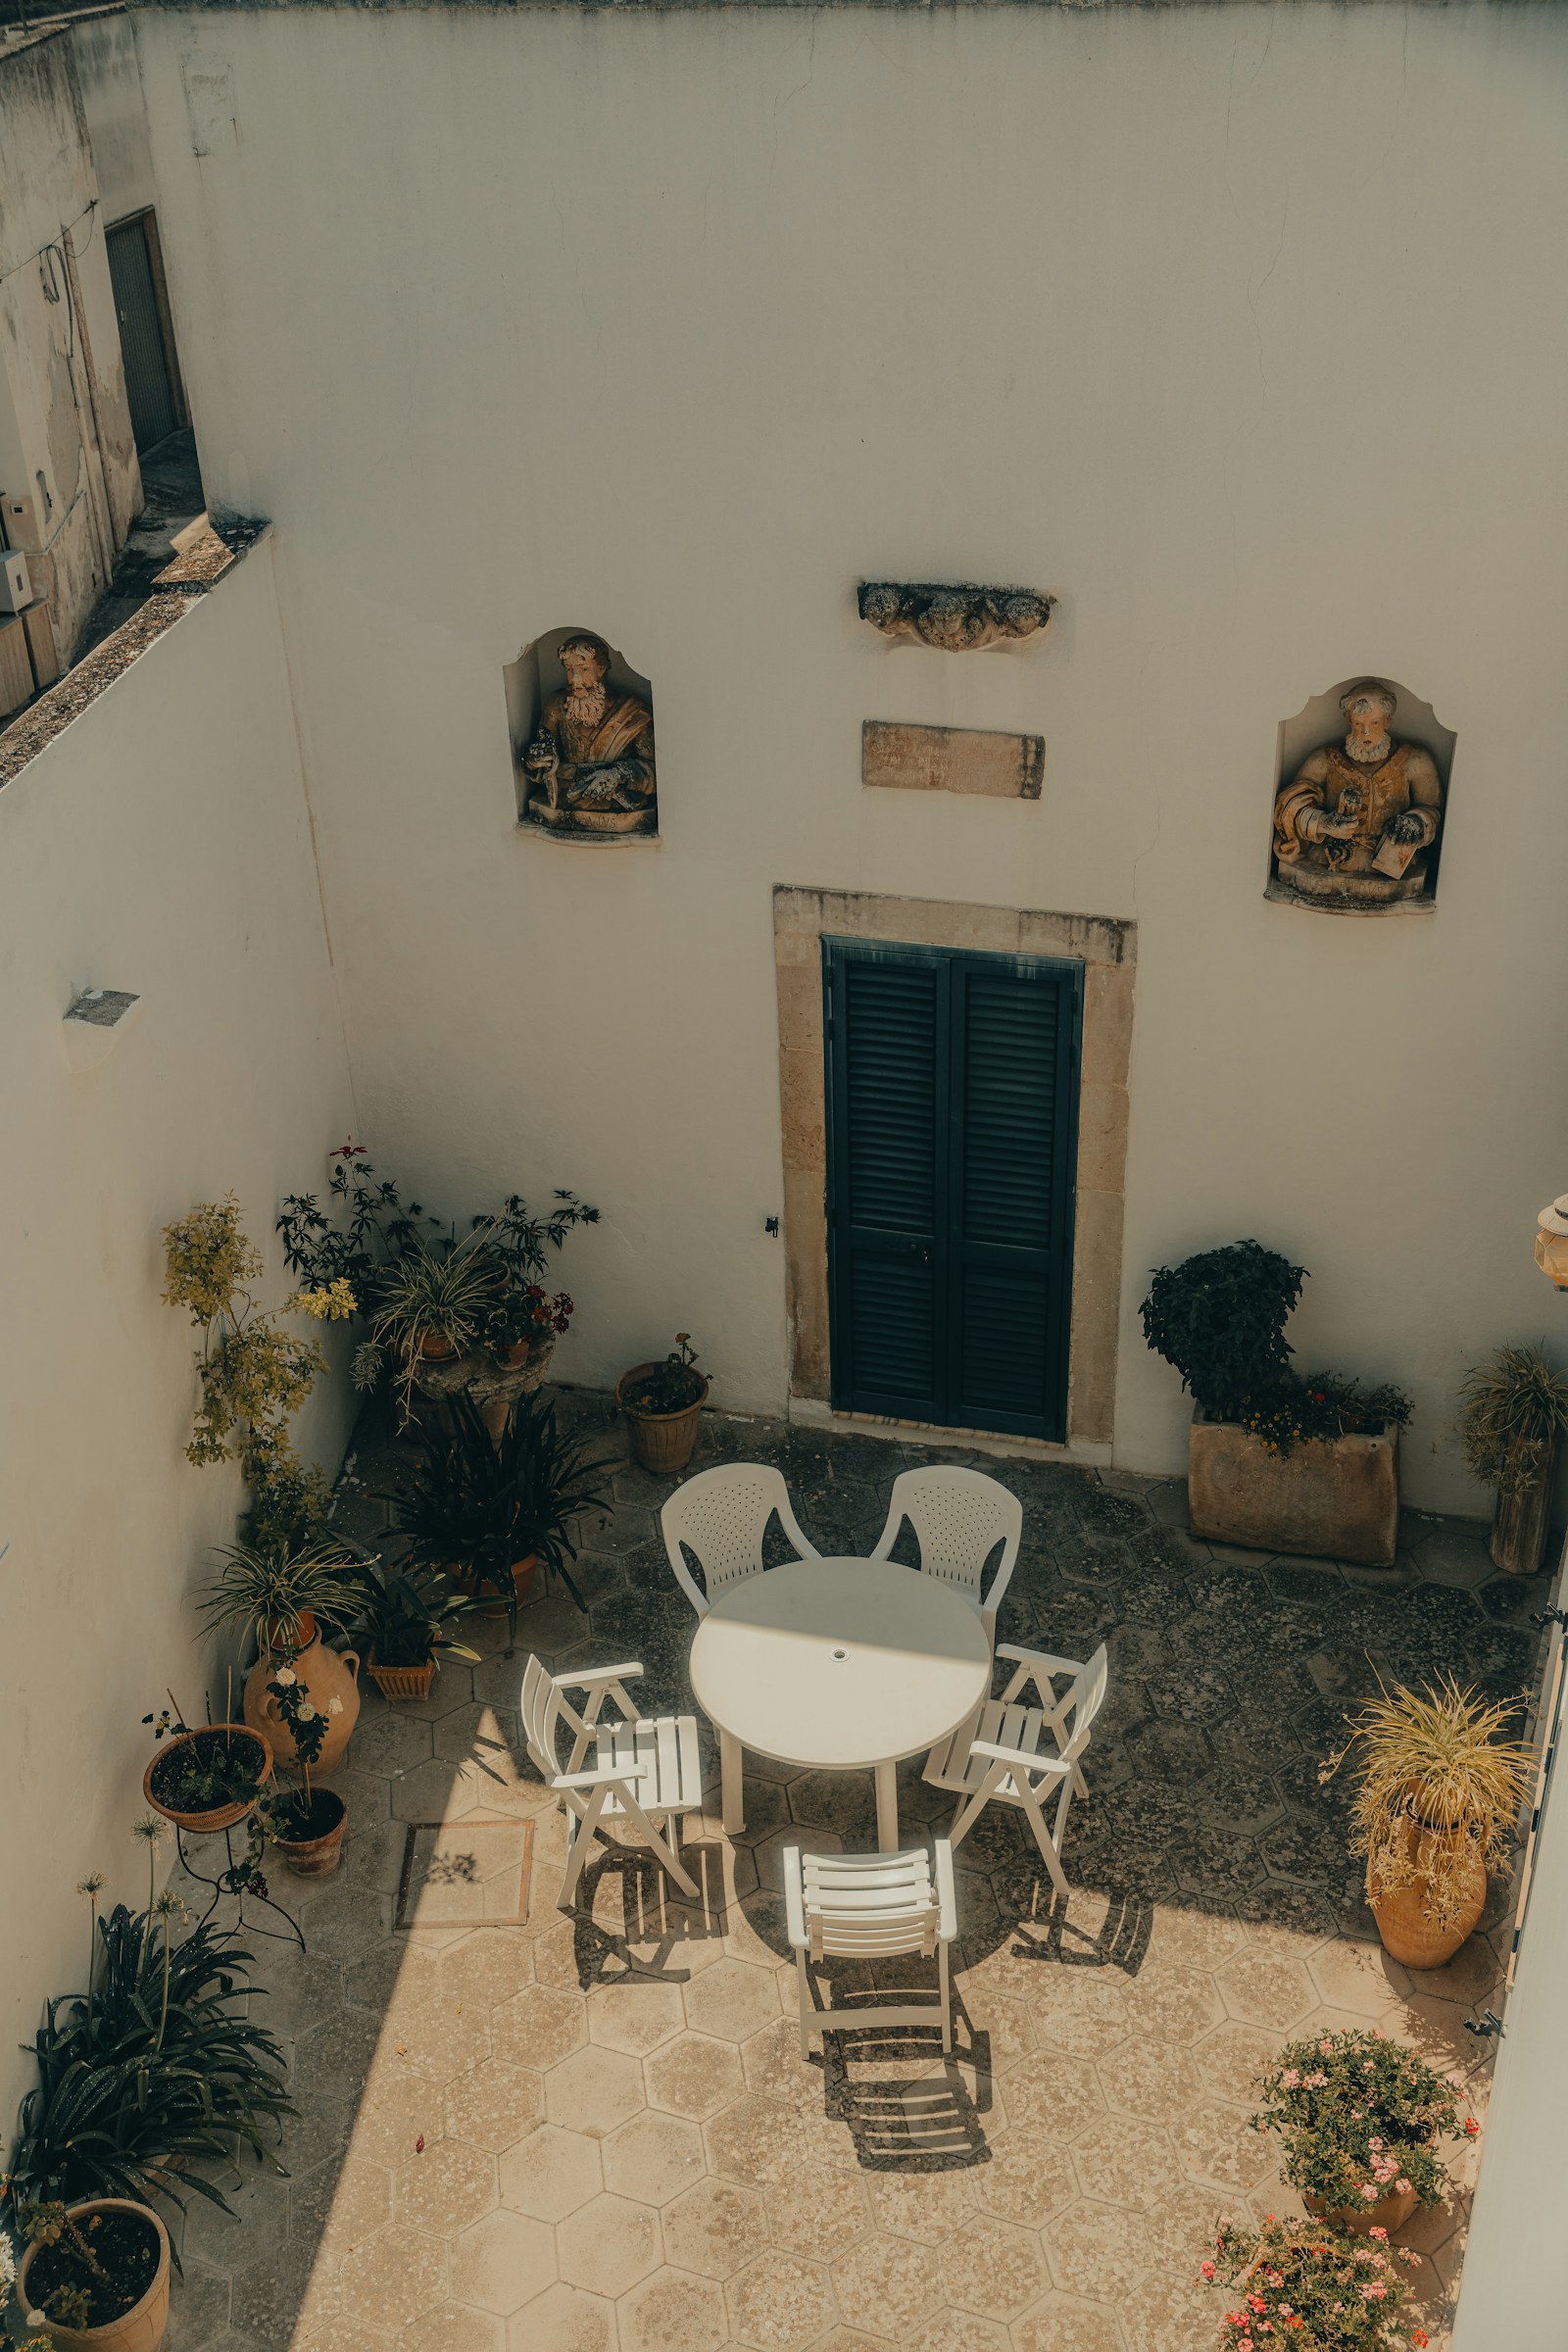
Before buying anything, stand where the containers will go. Can you reach the area without moving furniture? Will water drain onto a neighbor’s balcony, a slippery walkway, or a surface that stains? Does a door need to swing through the same space? A convenient growing area is easier to care for than an impressive arrangement tucked out of reach.
For a balcony or roof terrace, check the building’s rules and load limits before adding heavy containers. Wet growing media weighs more than an empty pot suggests. Do not attach planters to railings unless the building and mounting system allow it. A small group of suitable pots on a stable surface is a better starting point than a complicated vertical installation you cannot safely maintain.
Write down three practical limits: the area available, how you will carry water, and how much daily attention you can realistically give. Those notes will help you reject attractive ideas that do not fit your life.
Make a simple sunlight record
Look at the proposed location in the morning, around midday, and later in the afternoon. Note when direct sun reaches it and when a building, tree, or overhang casts shade. Repeat on another clear day if possible. The aim is not a perfect scientific measurement; it is to avoid choosing plants for a sun exposure the space does not actually receive.
Fruiting vegetables generally need a sunnier position than many leafy crops. Read the plant label rather than relying on a photograph of a similar balcony. If your light is limited, choose crops recommended for that exposure or change the location. Fertilizer will not turn a deeply shaded corner into a sunny growing site.
Keep the record. Trees leaf out, the sun changes position through the year, and a location that works in one season may behave differently in another. Your first observations become a useful reference when growth changes later.
Choose one or two crops you will use
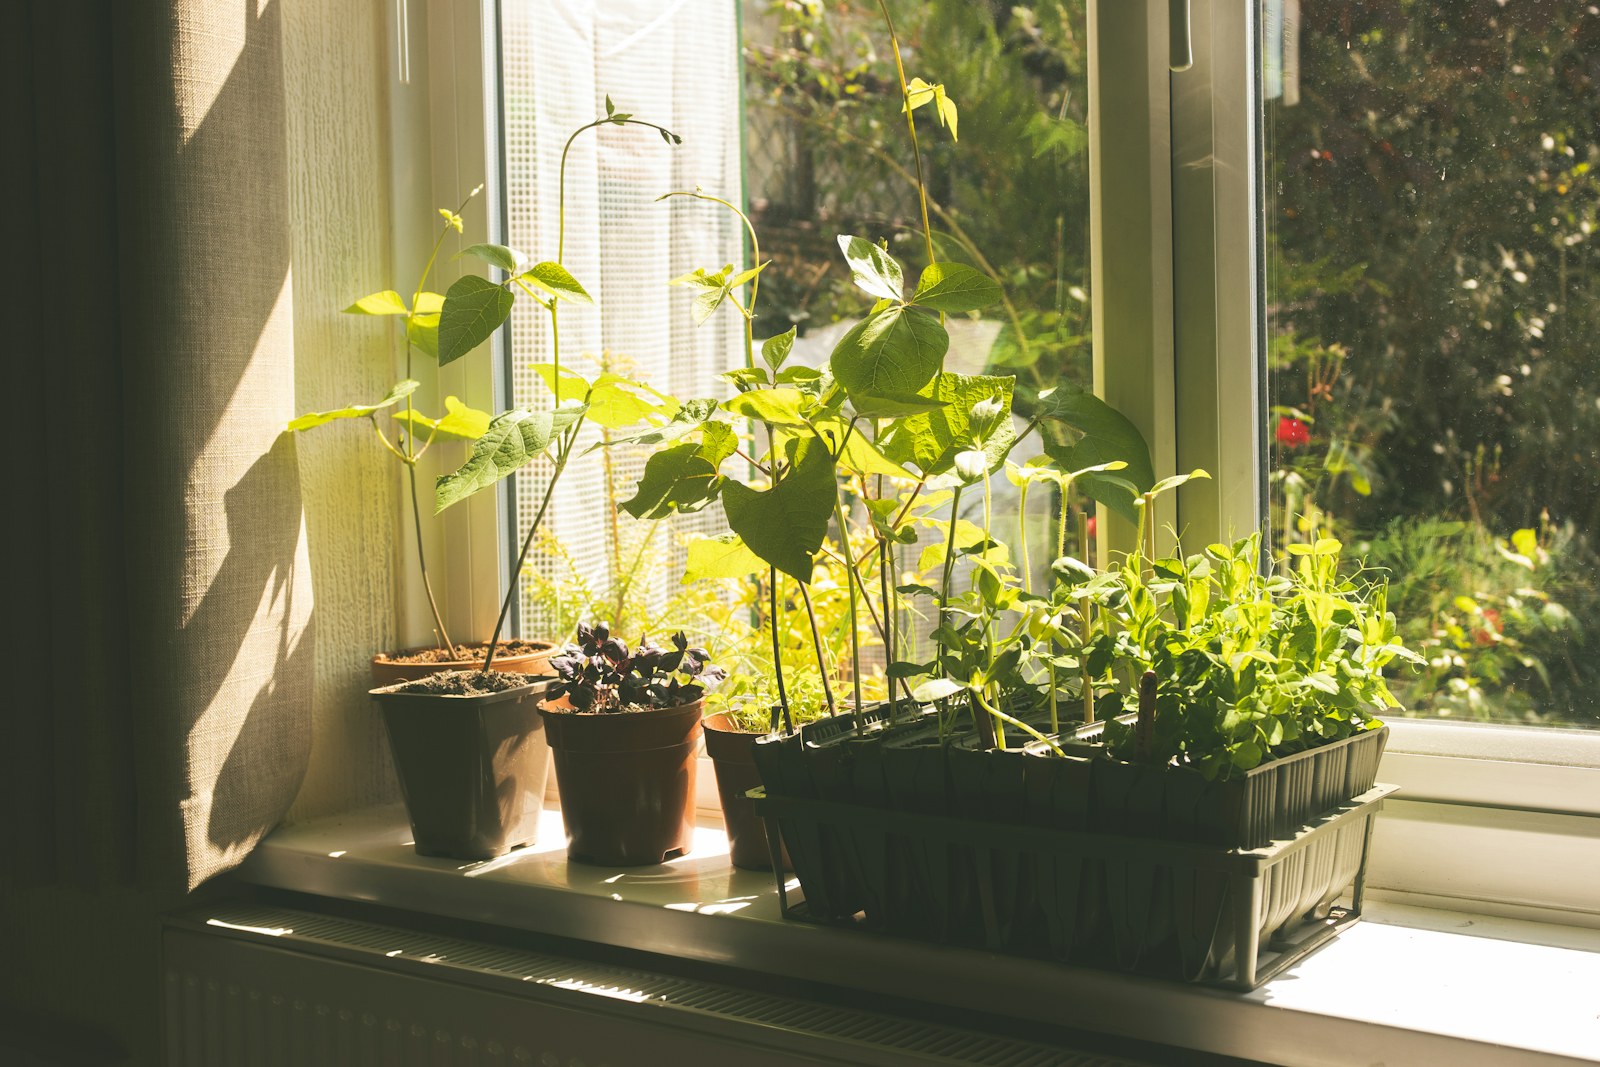
Start with a short wish list based on what you enjoy eating. Someone who cooks with fresh herbs has a different reason to garden from someone who wants a summer tomato harvest. Pick a manageable first project and learn its needs. A shelf crowded with unrelated seedlings can create several different care schedules before you have learned one.
Look for varieties described as suitable for containers, and compare their mature size. Words such as compact, dwarf, or patio can be helpful starting points, but they do not replace the actual growing instructions. Two varieties of the same vegetable may need very different amounts of room and support.
Also check the appropriate season for your area. Cool-season and warm-season crops do not all belong outside at the same time. Your local Extension planting calendar is more useful than copying a date from a national social-media post. For a first attempt, healthy transplants can reduce the number of steps; seeds offer more variety but add germination and seedling-care decisions.
Match the container to the mature plant
Choose a container with drainage openings and enough root space for the specific crop. Use a crop-specific Extension recommendation when deciding volume and depth. A decorative container that comfortably holds a young nursery pot may still be too small for the mature plant.
Think about the finished arrangement before filling it. Where will a tomato support go? Can you reach the back of the pot? Is the container stable in wind? Installing an appropriate support during planting is usually easier than trying to push one through an established root system later.
If you reuse a container, check what it previously held. Use a clean container suitable for growing food, not one with an unknown chemical history. Inspect for cracks and blocked holes. If a decorative outer pot holds a separate nursery container, make sure you can remove accumulated water rather than leaving the inner pot sitting in it.
Use a growing mix intended for containers
Ordinary garden soil behaves differently when confined to a pot. Iowa State Extension explains that it can compact and reduce drainage and aeration. A commercial potting mix intended for containers is a straightforward starting point. Read the bag so you know whether fertilizer is already included.
Do not add a layer of gravel as a supposed drainage fix. University of Maryland Extension advises against gravel, rocks, or pottery shards in the bottom because they occupy root space and can worsen drainage. Keep the drainage opening functional and choose a suitable growing medium instead.
Estimate the amount of mix from the container’s stated volume, then allow for the plant’s existing root ball. Having the right amount ready avoids leaving a transplant exposed while you make another trip. If the mix is very dry, follow the manufacturer’s preparation instructions before planting.
Plant with the label beside you
Arrange the empty containers in their final positions first. Check the grouping from the doorway and from the spot where you will water. Leave enough access to inspect leaves and remove a container if necessary. It is much easier to change the arrangement before everything is full and wet.
Read the seed packet or transplant instructions for spacing and planting depth. Different crops have different requirements, so avoid treating one planting method as universal. Handle seedlings gently, keep track of variety names, and label each pot while the information is in front of you.
After planting, note the date, the variety, and any fertilizer already present in the mix. A phone note is enough. If a plant later struggles, that short record is more useful than trying to remember what happened several weeks earlier.
Build a checking routine before a watering schedule
Put a daily check on your calendar, especially during warm or windy weather, but let the condition of the potting mix guide the watering decision. Container size, weather, plant growth, and the mix all affect how quickly water is used. A fixed instruction to water every Saturday ignores those differences.
Check the growing medium rather than judging from the top leaves alone. Wilting can have more than one cause. Iowa State Extension recommends watering container plants thoroughly so water reaches the root zone and excess begins leaving the drainage openings. Empty collected water where a saucer or outer container would otherwise keep the roots waterlogged.
Make the task easy enough to repeat. Keep a suitable watering can nearby and plan who will check the plants during a trip. If the routine regularly feels too demanding, reduce the number of containers before adding an elaborate irrigation setup.
Feed thoughtfully and observe before reacting
A container limits the plant’s access to nutrients, but adding more fertilizer is not always the answer to slow growth. Check the light, moisture, root space, and the mix’s existing fertilizer first. Follow the fertilizer label and crop guidance rather than combining several products with overlapping ingredients.
When you notice a problem, describe it precisely. Are older leaves changing first? Is the soil wet or dry? Is one plant affected, or every plant in the group? Look at leaf undersides and growing tips. Take a clear photograph and record what changed recently.
These observations make a question to your local Extension service much easier to answer. Avoid spraying a product just because a leaf looks imperfect. Identify the likely problem, check whether treatment is necessary, and follow the label if a product is appropriate for the plant and intended use.
A realistic plan for the first month
Before planting: record sunlight, choose the crop, check local timing, and buy only the container, mix, support, and basic tools it requires. Measure your space before choosing decorative extras.
During the first week: check the containers daily, look for drainage problems, and confirm that supports are stable. Keep short notes on moisture and weather. Resist moving everything repeatedly unless you are correcting an obvious problem.
During the following weeks: compare new growth, adjust care according to observations and crop instructions, and begin harvesting only when the plant is ready. At the end of the month, ask which task was easy, which was regularly missed, and whether the setup still leaves your patio or balcony usable.
A successful first container garden is one you understand well enough to care for. Expansion can wait. Knowing why one plant is growing happily gives you a much stronger foundation than owning ten pots you cannot keep up with.